


Old Town San Diego State Historic Park , a set on Flickr.
Wednesday, July 13, 2011


Wednesday, June 29, 2011


Friday, June 24, 2011
HDR Auto Shops


HDR Auto Shops, a set on Flickr.
A guitar building class, and an Auto car class in my high school was a perfect place to try for HDR shots.
Wednesday, June 1, 2011


Monday, May 30, 2011
My First High Dynamic Range (HDR) Attempt
I started getting interested in HDR photography. It adds so much more fun for shooting in anywhere you go, and you start looking at things in a different way. Now anything I look at, I test it in my eye seeing if it work for HDR or not. I feel I can't do any more photography unless I use this technique. So yesterday I was in our carriage with the tripod, and a wide angle lens... I tried to look for a good compositions to take as many exposures I can. I catched a spot where my dad paint and draw... there was many details in that composition, canvas, painting colors..etc.
So I took 5 different images with different exposures. It was hard the first time because it is needs accuracy and good focus.
- First, I set the tripod still and I focused the lens by Auto then locked it on Manual.
- Put the F-stop on 11, it will give you the sharpest image.
-Then I looked at the Exposure Composition scale, it will look like a ruler with (-2,-1,0,+1,+2). This is where you can set each shot on different exposure. This is the general set of exposures you usually take, for my first attempt, I went with the general rule, You can take +3,-3 or whatever.
- Put it on self timer (10 secs are good ). You don't want your camera to move, it needs to be freezed in order to take the same exact shot in those 5 exposures.
As a result, this is what I got...


After that, you need a software to combine the images and add some effects. You can use Photoshop, but it is not focused on HDR. There are some Softwares like Photomatix Pro. This is what I used. You can play with the sliders after combing them, and it will look much nicer than you expected.
The result of my first attempt is this:
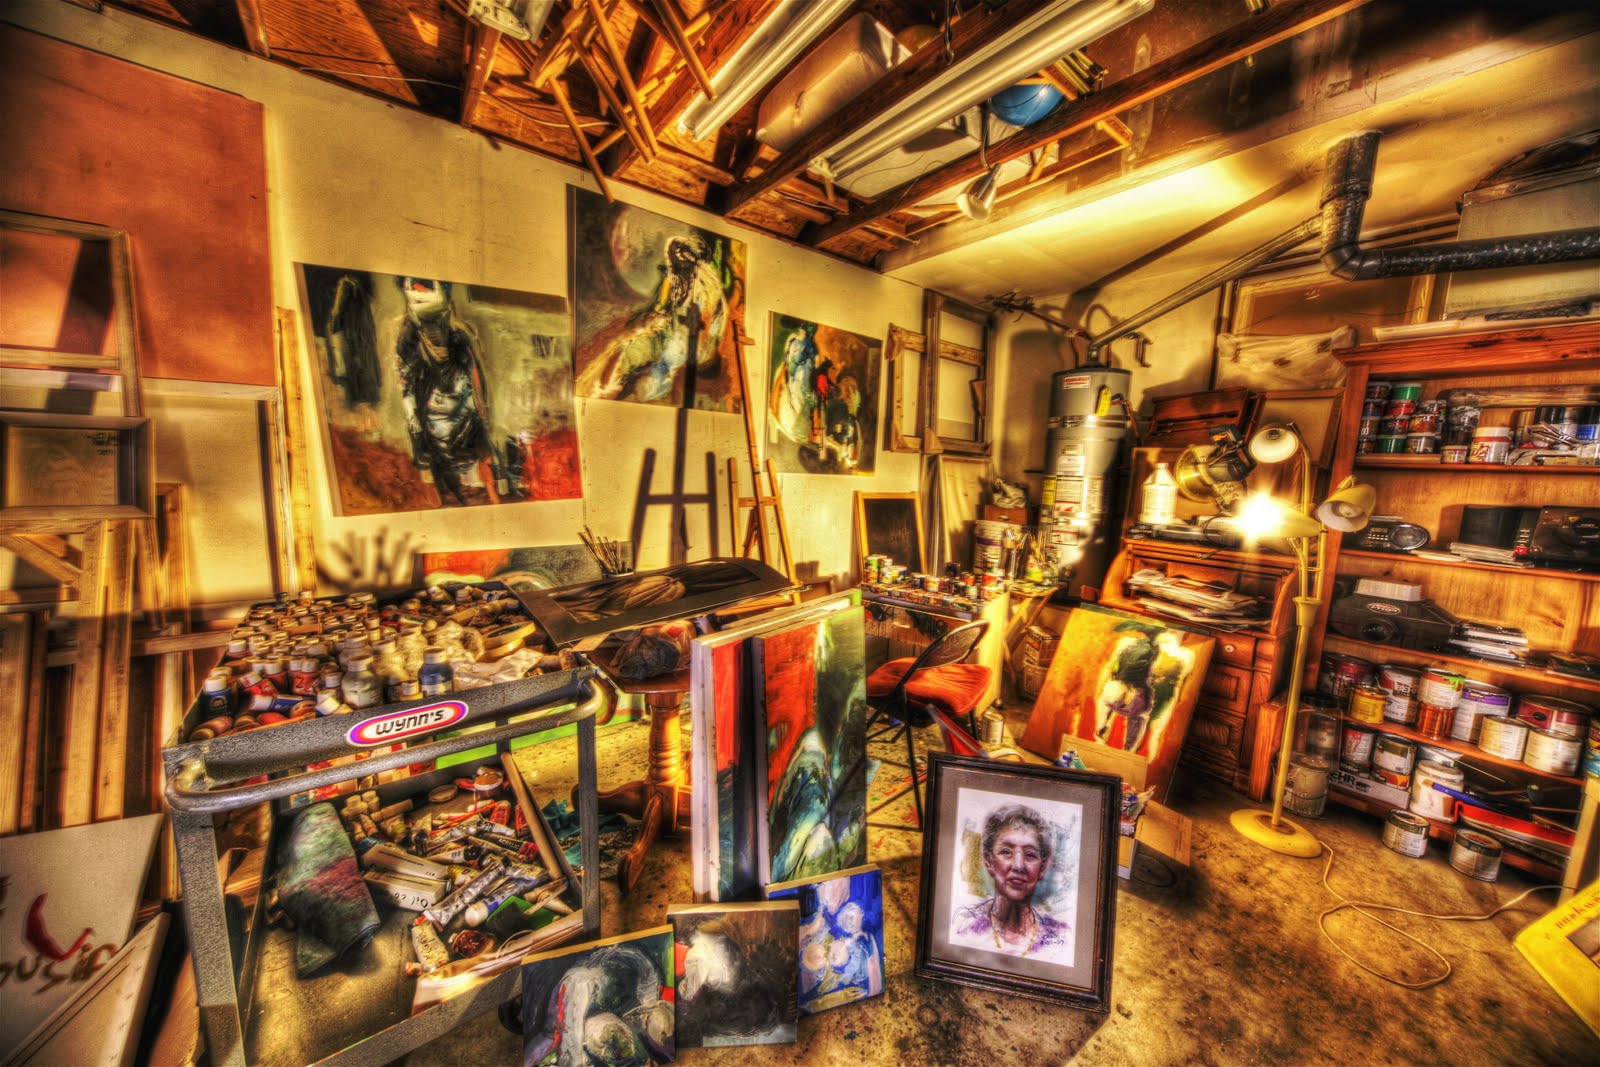
I took other compositions... and this was the result:

Thursday, March 3, 2011
Learning and Applying
Its been forever until my last post, but I just didn't have time to give some thoughts to write. I have been busy in school and college, but I still have so many ideas to write. I am still on my promise to write the last basic post for Visual Basic and then I may dig deeper into more learning. I am trying to find a good book for people in my age and beginners about programming or software engineering in general, just for the sake of knowledge. I know there are many references in the internet, but I like to have the book with me all the time rather than going to the website and read.
 I love the drops on the flower. I sharpened them and used different blending modes to have this result. I used macro lens and without a tripod! I got this image by my luck laying down on the ground in a rainy day.


This quick post is only about few pictures I enhanced few days ago in Camera Raw and Photoshop. I just felt I didn't posted my photographs since months, and I needed to do that. I have more pictures to share but I need to fix them first. Here are few images I like to share:


This is heavy processed. I took it to Camera Raw and played with the temperature, then into Photoshop with using different blending modes and blur too.

My sister look like an old lady after editing with wrinkles under eyes ( sorry sofie! )
The pupil had the most attention in this picture. I kept using different sharping to get a little bit of reflection. I am still not very satisfied with it, but I just chose to share it.

I learned this trick of Black and White from The Mac Lab Video Tip of the Day from my Digital Arts class. I liked it and it is so easy... it gave a whole lot meaning to the picture.
Thats all I wanted to say for now. Hopefully this weekend I have another update for programming or photography.
Subscribe to:
Posts (Atom)